Job time an leisurely 2 hours for the two cans
Difficulty 2 out of 5
It’s not the first time I’ve repacked cans so please remember that when I give time or difficulty for the job also the other cans that I have done have been very similar in the way there made so this walkthrough should come in handy for them
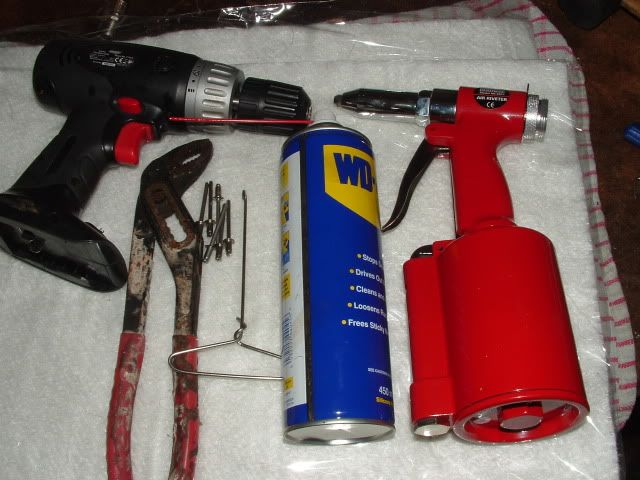
What you’ll need for the two cans
2x 4.9mm cobalt drills
12x 5mm stainless steel rivets 10mm long
4x sheets of woven fibreglass exhaust packing (500 x 380)
Cordless or variable speed drill
Rivet gun
Rubber mallet
Big pliers or pipe grips
Tin snips
Secret weapon WD40
A soft cloth that can de wrapped around the can
The wire hook you can see was made by me for removing the exhaust springs
(1)
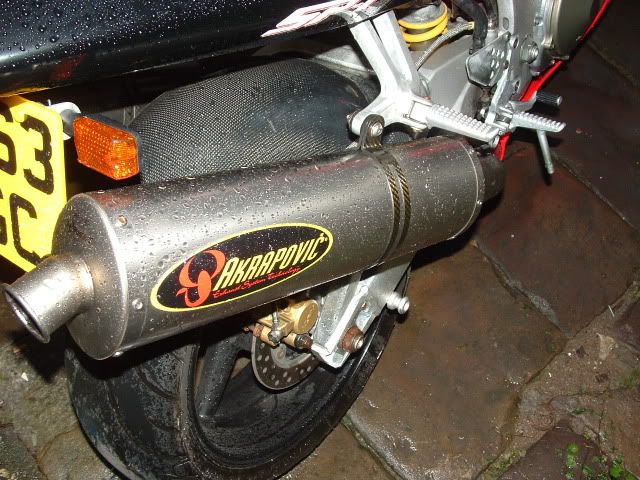
I’m not going to go in to removing the exhausts but I will say take them off with the link pipes still attached
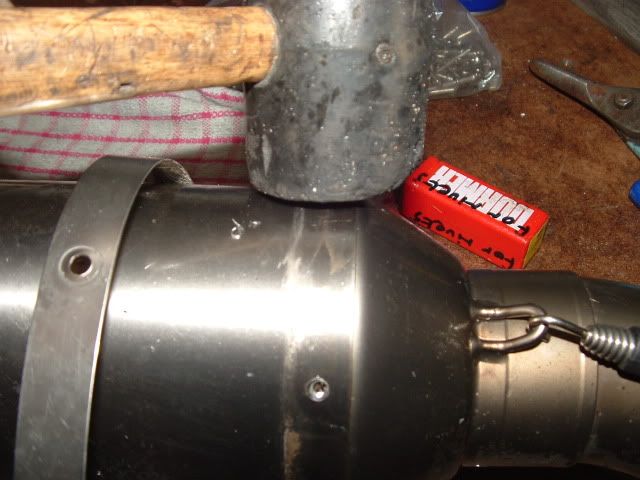
Most cans have the baffle tube attached to the inlet end of the Can and a sliding fit into the outlet end so first check that you’re Can is the same. Look at the picture you will see that it has been taken from the outlet end of the Can; you can see where the baffle tube is inside the outlet and is not fastened or welded
(2)
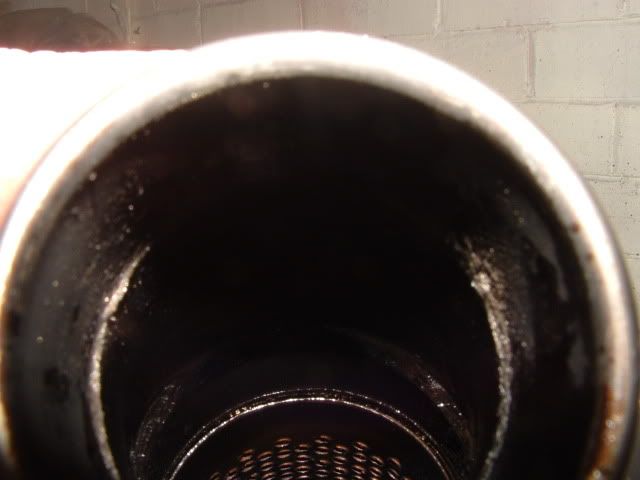
You can use lose wadding or sheets to repack the Can and depending on which you use depends on what end you take off if I was using lose wadding I would remove the outlet end only leaving the baffle tube fixed inside the outer sleeve and would pack the wadding around it using a stick.
The biggest problem with the lose stuff is you can pack it to tight or with voids so I prefer the sheets
I’m not going to go in to removing the exhausts but I will say take them off with the link pipes still attached
Let’s get started
First thing to do is wrap or sit the exhaust on the soft cloth ready for drilling out the rivets
(3)
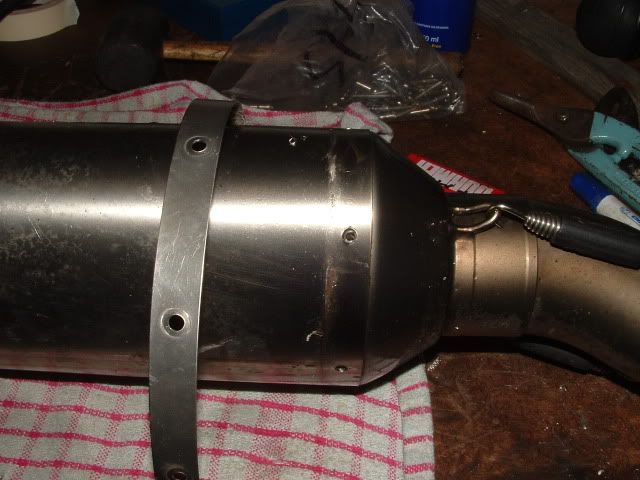
Using the cobalt drill bit use a very slow speed on the drill: drill out the centre of the rivets on the inlet end of the Can. Save the strap that’s wrapped around the joint to put back on later
Using the rubber mallet tap around the joint between the end and the sleeve (not to hard we don’t want to dint anything) to brake the seal between them try and land the blows where the end cap changes direction as its the strongest bit and is less likely to be damaged. When the end cap has moved slightly in the sleeve spray a bit of WD40 in to the joint and in to the outlet this helps them move more easily. Now using the link pipe as a lever waggle it up and down while pulling the end Can outwards
(4)
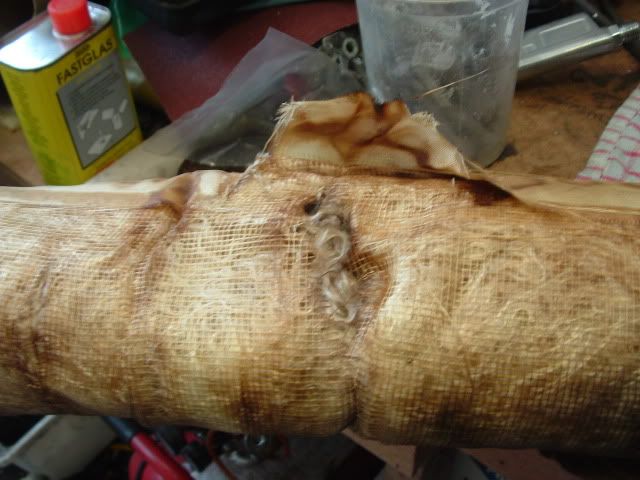
This is what you end up with when the two come apart if you look at the end of the sleeve you can see the wadding used ready to be pulled out
(5)

(6)

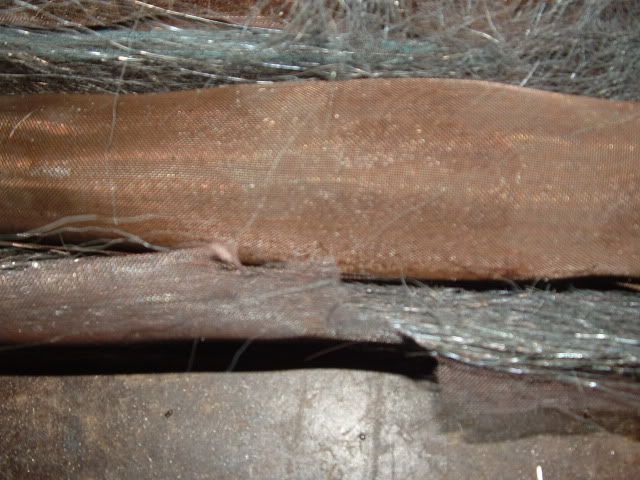
If you look at the end of the wadding you will see metal mesh running down the middle of it we need to reuse that so it needs pulling out using pliers or pipe grips
(7)

(8)

Along with the wadding, you can see where the wadding has been damaged and blown through along with the corresponding damage to the wire mesh
(9)
(10)

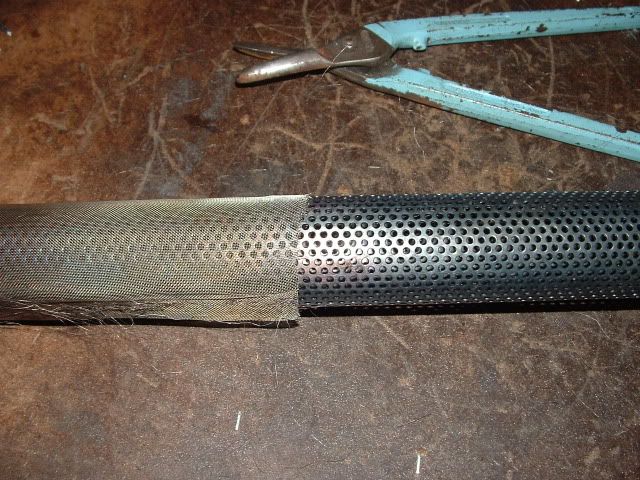
On these’s Cans there’s two lots of mesh with wire wool between them and the inner mesh was undamaged so I striped the outer mesh and wire wool away and just used the inner mesh to go round the baffle tube
(11)
(13)
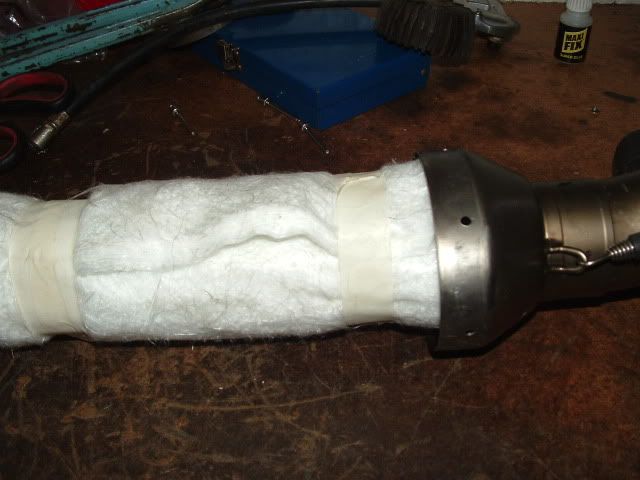
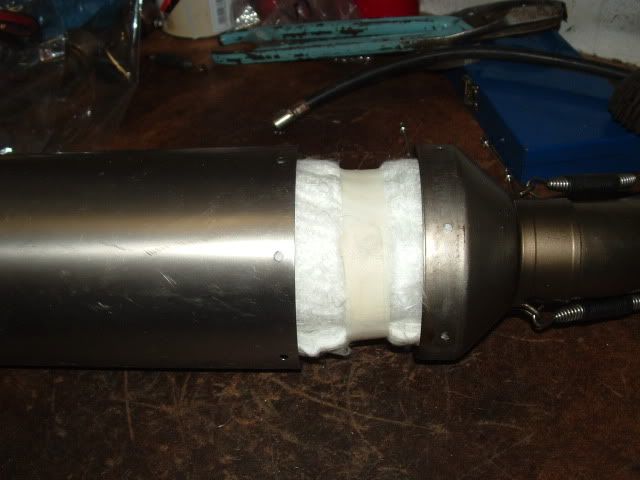
Now it’s time to rap the wadding around the baffle tube. It took 2 sheets to build up to the right height
The packing should be just a little bigger than the outer sleeve I used masking tape to secure the wadding as I went and to hold it down for feeding it in and when the tape is level with the end of the sleeve simply peel the tape away. Don’t pack it in to tight as it will reduce the effectiveness of the wadding
(14)

(15)
(16)
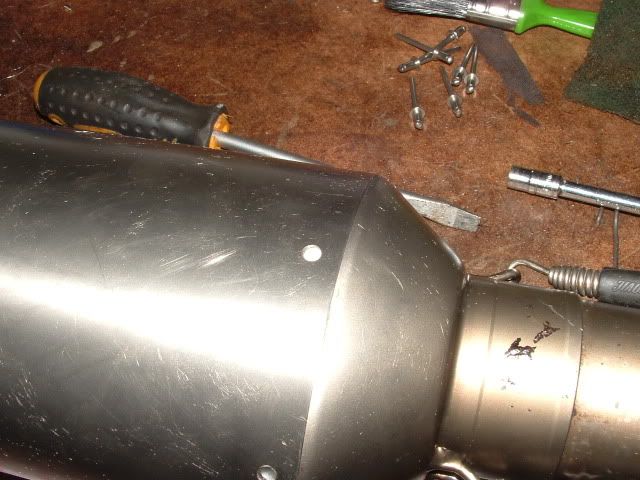
Now feed the outer sleeve over the end cap and align the rivet holes use the rivets to make sure there all in line then remove the rivets and place the band back around the end and use two or so rivets to make sure everything lines up. do make sure you have the end cap and band the right way round before riveting.
(17)
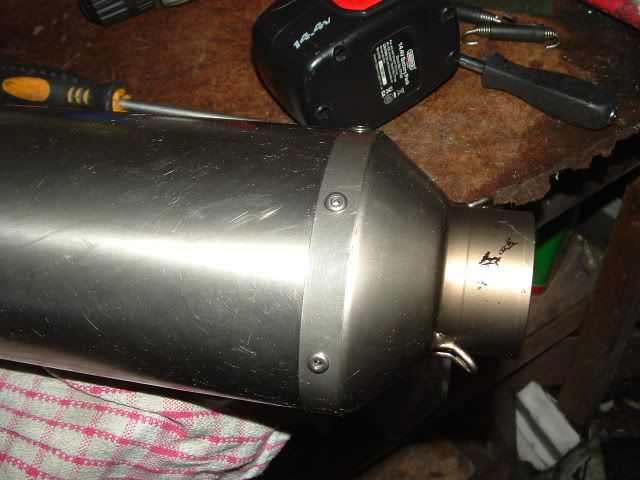
I always try to have 1 rivets locating things wile I rivet a second then adding another rivet to the end of the line working my way round the can depending on how good your metal working skills are you may want 2 locating wile riveting a third
(18)

Well that’s it job done and fitted back on the bike typical it started raining just before I’d finished
(19)
(20)